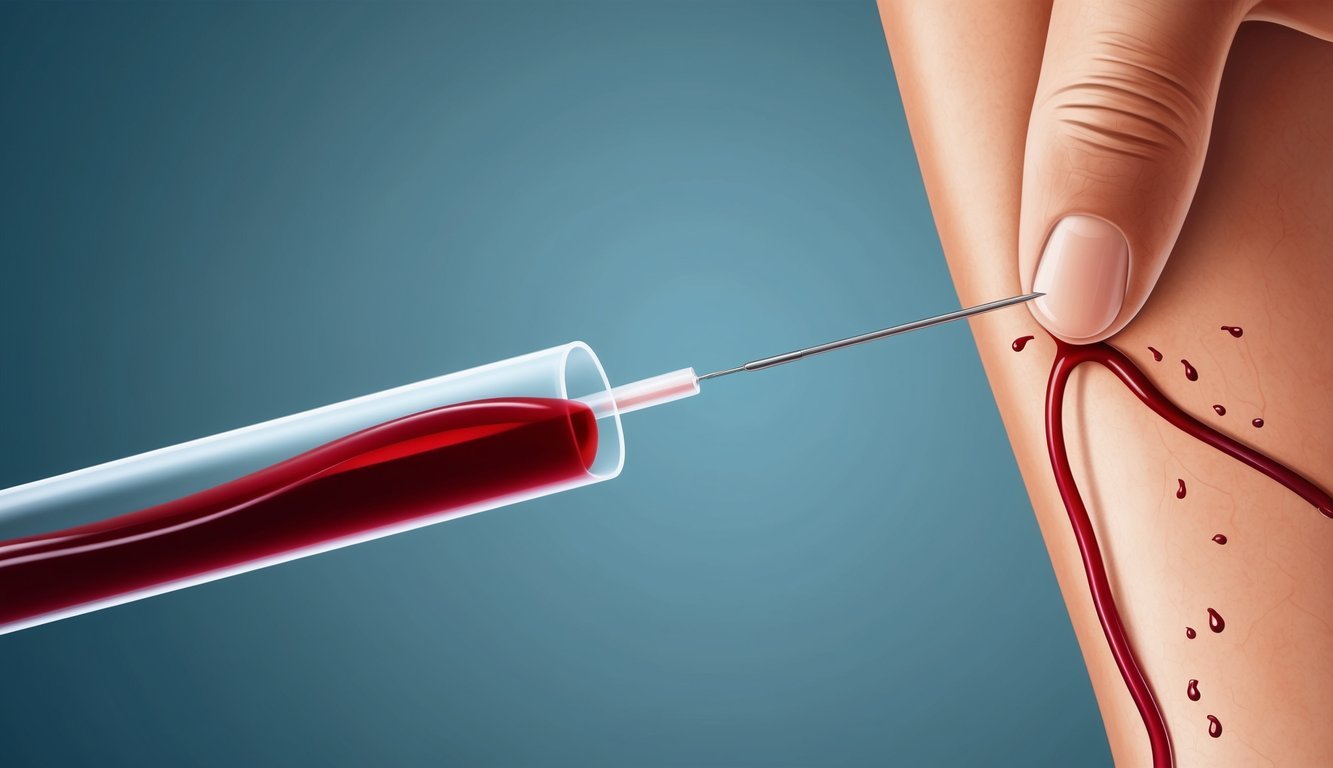
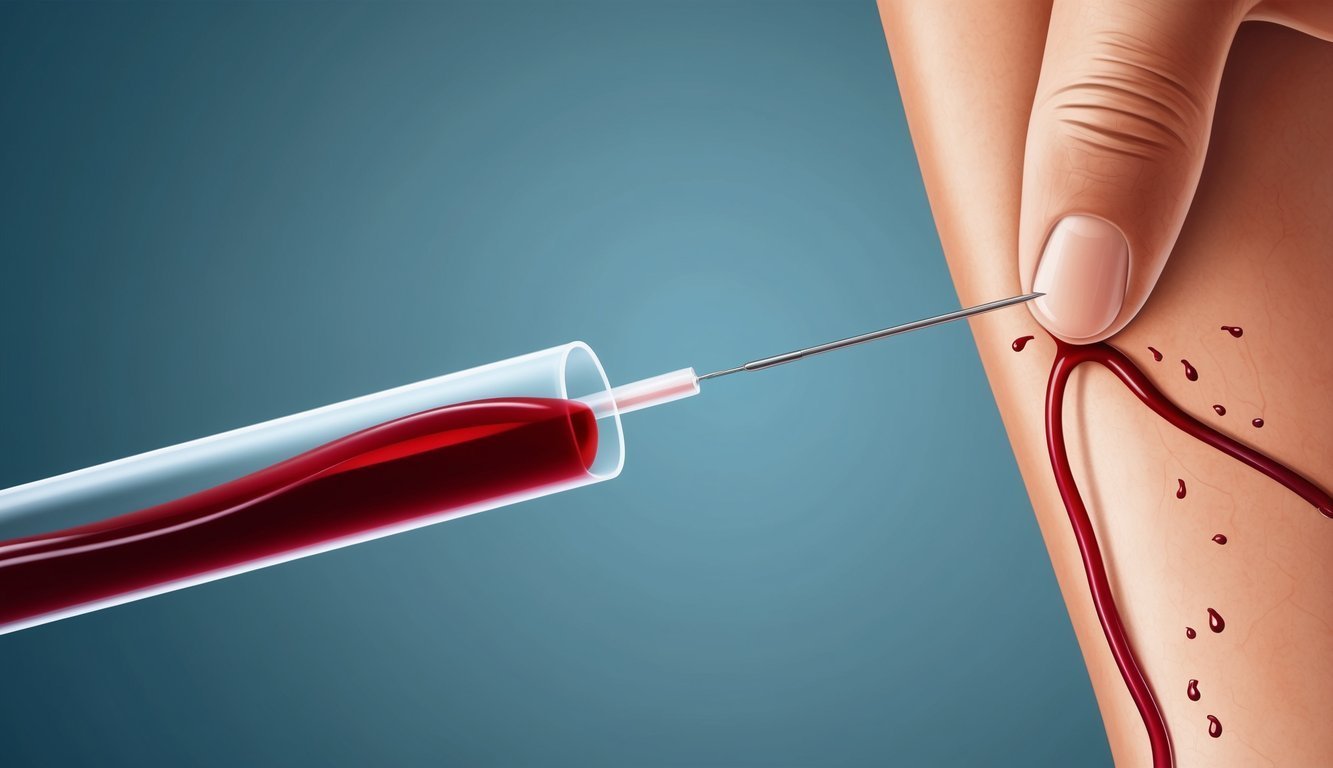
Drawing blood is a common medical procedure that plays a crucial role in diagnostics and treatment.
Patients find the experience less intimidating when they understand the steps involved in this process.
Whether you are preparing for a routine blood draw or need a specialized test, knowing what to expect can ease anxiety and promote a smoother experience.
Phlebotomy is the practice of collecting blood samples, typically through venipuncture, which involves inserting a needle into a patient’s vein.
The role of a phlebotomist is essential in this process, as they are trained to perform blood draws safely and efficiently while ensuring the comfort of the patient.
By learning the correct techniques and best practices, you can enhance your understanding of how blood specimens are collected and what happens during the procedure.
In this article, you will find valuable information about the steps taken to draw blood, tips for preparing for your appointment, and ways to facilitate a positive experience.
For those who want to dive deeper into proper blood-drawing techniques, resources like the WHO Guidelines on Drawing Blood and How to Draw Blood: A Step-By-Step Guide can provide further insight into this essential medical practice.
Preparation for Blood Draw
Drawing blood is a common medical procedure that plays a crucial role in diagnostics and treatment.
Patients find the experience less intimidating when they understand the steps involved in this process.
Whether you are preparing for a routine blood draw or need a specialized test, knowing what to expect can ease anxiety and promote a smoother experience.

Phlebotomy is the practice of collecting blood samples, typically through venipuncture, which involves inserting a needle into a patient’s vein.
The role of a phlebotomist is essential in this process, as they are trained to perform blood draws safely and efficiently while ensuring the comfort of the patient.
By learning the correct techniques and best practices, you can enhance your understanding of how blood specimens are collected and what happens during the procedure.
In this article, you will find valuable information about the steps taken to draw blood, tips for preparing for your appointment, and ways to facilitate a positive experience.
For those who want to dive deeper into proper blood-drawing techniques, resources like the WHO Guidelines on Drawing Blood and How to Draw Blood: A Step-By-Step Guide can provide further insight into this essential medical practice.
Preparation for Blood Draw
Preparing adequately for a blood draw is crucial for both the patient’s comfort and the accuracy of the test results.
This section covers important practices including hand hygiene, site selection, and ensuring patient comfort.
Hand Hygiene and PPE
Before beginning the blood draw, you must ensure proper hand hygiene.
Wash your hands thoroughly with soap and water for at least 20 seconds.
Alternatively, an alcohol-based hand sanitizer can be used when soap and water aren’t available.
Personal Protective Equipment (PPE) should be worn, including non-sterile gloves.
This protects both you and the patient from potential infections during the procedure.
After donning gloves, apply alcohol swabs to the intended puncture site.
This will disinfect the area and further reduce the risk of infection.
Selecting the Venipuncture Site
Choosing the correct site for venipuncture is essential.
The antecubital fossa is the most common area used, particularly the median cubital vein, which is typically the easiest to access.
Consider the following veins when selecting a site:
| Vein | Accessibility | Considerations |
|---|---|---|
| Median Cubital Vein | High | Most common, centrally located |
| Basilic Vein | Moderate | Larger but may be closer to arteries/nerves |
Using a tourniquet can help make the veins more visible.
Apply it roughly 3-4 inches above the draw site, making sure not to leave it on for more than one minute to avoid discomfort.
Patient Preparation and Comfort
Prior to the blood draw, ensure that you communicate clearly with the patient.
Explain the procedure to alleviate any anxiety.
Discuss any necessary physical exam processes, and encourage the patient to remain calm.
You may want to have them lie down to prevent fainting.
Offer supportive measures, such as a stress ball or light conversation, to keep them engaged and relaxed.
Additionally, remind them to stay hydrated, as this can make the veins more accessible and improve comfort during the draw.
Blood Drawing Techniques
Understanding effective blood drawing techniques is crucial for ensuring patient safety and obtaining accurate blood samples.
This section covers the venipuncture procedure, the order of draw, and how to handle blood collection tubes properly.
Venipuncture Procedure
To perform venipuncture effectively, follow these steps:
- Preparation: Gather all necessary supplies, including needles, syringes or vacutainers, alcohol swabs, and gloves.
- Positioning: Have the patient seated comfortably with their arm extended. Identify a suitable vein, typically the median cubital vein in the antecubital fossa.
- Cleansing: Clean the puncture site with an alcohol swab, moving in a circular motion from the center outward. Allow the site to air dry to maximize sterility.
- Insertion: Hold the skin taut to stabilize the vein. Insert the needle at a 15 to 30-degree angle with the bevel facing up. You should feel a slight “pop” when you enter the vein.
- Blood Collection: Once blood flows into the collection device, stabilize the needle and fill the required amount. Avoid creating a vacuum that could cause hemolysis.
Order of Draw
The order of draw is critical to avoid cross-contamination between different additive tubes.
Follow this general sequence:
- Sterile (Blood Culture) Bottles
- Light Blue Tube (Sodium Citrate)
- Red Tube (No Additive)
- Gold or Tiger Top Tube (Serum Separator)
- Green Tube (Heparin)
- Lavender Tube (EDTA)
- Gray Tube (Preservatives)
Each collection tube varies in additives that can affect test results.
Adhering to this order helps maintain sample integrity.
For more details on best practices, consult the WHO Guidelines on Drawing Blood.
Handling Blood Collection Tubes
Proper handling of blood collection tubes is essential for obtaining accurate results:
- Labeling: Immediately label each tube after collection with the patient’s information and date.
- Inversion: Gently invert tubes containing additives to mix the anticoagulant with the blood. Avoid vigorous shaking to prevent hemolysis.
- Transport: Ensure tubes are transported to the laboratory promptly and stored according to the specific requirements of the test. For example, some samples require refrigeration while others should remain at room temperature.
Following these protocols helps ensure the accuracy of blood tests and the safety of both you and the patient.
Safety and Hygiene
Ensuring safety and hygiene during the blood drawing process is critical.
This involves implementing infection prevention measures and knowing the appropriate steps to take in the event of exposure.
Infection Prevention Measures
Infection prevention is essential in the phlebotomy process.
You should follow these key steps to maintain safety:
- Hand Hygiene: Always wash hands thoroughly or use an alcohol-based hand sanitizer before and after each blood draw.
- Use of Gloves: Wear well-fitting, non-sterile gloves when handling blood. Change gloves between patients and after any exposure.
- Disinfect the Site: Clean the venipuncture site with a 70% alcohol swab for at least 30 seconds and allow it to dry completely.
- Containment of Waste: Dispose of needles and other sharps in designated biohazard containers to prevent needle-stick injuries.
Adhering to these infection prevention measures minimizes the risk of transmitting infections such as hepatitis B and HIV.
Post-Exposure Steps
In the event of a needlestick injury or potential exposure, it’s crucial to act quickly.
Follow these steps:
- Immediate Washing: Clean the puncture site with soap and water. Rinse thoroughly.
- Report the Incident: Notify your supervisor and follow the institution’s protocol for reporting exposures.
- Seek Medical Evaluation: Get evaluated by a healthcare professional as soon as possible. This may include assessment for HIV and hepatitis B.
- Post-Exposure Prophylaxis (PEP): If indicated, begin PEP treatment within 72 hours to reduce the risk of HIV infection.
Understanding these steps enhances safety and helps you manage risks associated with blood exposure.
For more information, consult guidelines from the Centers for Disease Control and Prevention.
Post-Blood Draw Processes

After completing a blood draw, it is crucial to follow specific processes to ensure patient safety and the integrity of blood specimens.
Key aspects include applying pressure to minimize bleeding, implementing quality control measures, and monitoring patients post-procedure.
Applying Pressure and Dressing
Immediately after the blood draw, you should apply firm pressure to the puncture site using a clean, dry piece of gauze.
This helps to prevent excessive bleeding and reduces the risk of developing a hematoma.
Hold the gauze in place for at least 5 minutes, or until bleeding stops.
Once hemostasis is achieved, secure the gauze with tape or a bandage to protect the site and maintain cleanliness.
Inform the patient to keep the dressing on for a few hours.
Advise them to avoid vigorous activities with the arm for the rest of the day, to minimize risk of reopening the puncture site.
Quality Control Measures
Implementing quality control measures is critical to maintaining the accuracy of blood specimens.
Ensure that all tubes are labeled correctly at the bedside to prevent mix-ups.
Using the appropriate containers for different tests is essential; some tests require specific anticoagulants or preservatives.
Additionally, check for hemolysis before sending samples to the lab.
Hemolysis can affect test results and may indicate improper handling.
Maintain proper storage temperatures for samples until they are analyzed, as temperature fluctuations can compromise the quality of blood specimens.
Patient Monitoring and Follow-Up
After the blood draw, observe the patient for any signs of adverse reactions.
Common issues may include dizziness or fainting.
Be prepared to assist if the patient feels lightheaded.
Schedule follow-ups for patients who require additional testing or results interpretation.
Provide them with clear instructions on how to care for the puncture site at home.
Reinforce the importance of contacting a healthcare provider if they experience unusual symptoms, such as excessive swelling or prolonged pain at the puncture site.
This proactive approach helps ensure patient safety and satisfaction.
Understanding Blood Tests and Applications
Blood tests play a crucial role in diagnosing health conditions and monitoring overall wellness.
Your participation in laboratory sampling and blood donation can support medical advancements and patient care.
Laboratory Sampling
Laboratory sampling involves collecting a blood sample for diagnostic testing.
This process is vital in assessing various health markers, including:
- Complete Blood Count (CBC): Evaluates overall health and detects disorders like anemia.
- Blood Chemistry Tests: Measures substances like glucose and electrolytes, assessing organ function.
- Lipid Profile: Analyzes cholesterol levels, helping in heart disease risk assessment.
Proper techniques are essential for accurate results.
Skilled professionals usually perform venipuncture, taking blood from a vein, often in your arm.
Adequate labeling, handling, and transportation of samples to the laboratory ensure their integrity.
Understanding these tests helps you grasp their significance in diagnosing and managing health conditions.
Blood Donation
Blood donation is a generous act that supports patients in need.
Organizations like the American Red Cross and local blood banks rely on donations to maintain sufficient supplies for surgeries, trauma cases, and cancer treatments.
When you donate, the organization tests your blood for infectious diseases and compatibility with recipients.
Each donation can save multiple lives because blood components can be separated into red cells, plasma, and platelets for specific needs.
The donation process is straightforward and safe.
It begins with a brief health screening followed by the actual donation, typically lasting 8-10 minutes.
Post-donation, you’ll receive guidance on recovery and hydration.
Your participation not only aids individuals in urgent need but also contributes to ongoing public health efforts.
For more information, visit the American Red Cross.

